
Astroでは簡単に静的サイトをビルドできるWebフレームワークとのことで、今回はReact.jsを取り入れた環境を用意してみたいと思います。
React.js TypeScript Next.jsがわかる前提でゆるく説明してみたいと思います。
Reactを使ったテンプレートで環境を作る
npmの場合
$ npm create astro@latestyarnの場合
$ yarn create astroプロジェクト名を指定
✔ Where would you like to create your new project? … ./astro-react『astro-react』という名前のプロジェクト名で作成したいので ./astro-react と入力して次に進みます。
テンプレートの指定
? Which template would you like to use? › - Use arrow-keys. Return to submit.
❯   Just the basics (recommended)
    Blog
    Portfolio
    Documentation Site
    Empty project
一番最初の『Just the basics (recommended)』の『基本のみ(推奨)』を選択します。
✔ Which template would you like to use? › Just the basics (recommended)依存モジュールのインストールをする
? Would you like to install yarn dependencies? (recommended) › (Y/n)『Y』をしていして依存モジュールのインストールを開始させます。
Git リポジトリの初期化を実行
? Would you like to initialize a new git repository? (optional) › (Y/n)Gitリポジトリの初期化をしたいので『Y』を入力して次に進みます。
TypeScriptの設定
? How would you like to setup TypeScript? › - Use arrow-keys. Return to submit.
❯   Relaxed
    Strict (recommended)
    Strictest
    I prefer not to use TypeScript
推奨となっている『Strict (recommended)』を選択します。
デフォルト状態で確認
$ cd ./astro-react
$ yarn dev
上記のように、
astro-react ディレクトリが作成されてるのでcdコマンドで移動し、yarn dev を実行します。
yarn run v1.22.10
$ astro dev
  🚀  astro  v1.0.6 started in 20ms

  ┃ Local    http://localhost:3000/
┃ Network use --host to expose上記のように表示されたらhttp://localhost:3000/ にアクセスします。
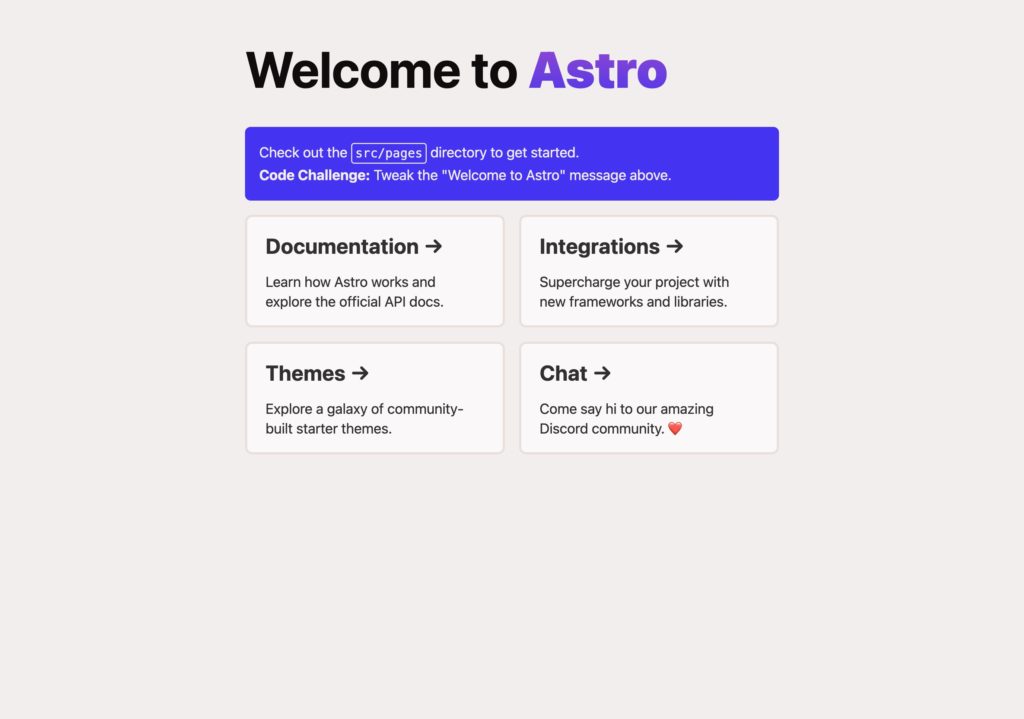
『Welcome to Astro』が表示されます。
これで初期状態での環境を確認できました。
見出しを変更してみる
astro-react ディレクトリをVSCodeなどのテキストエディターで開き、トップページのファイルのsrc/pages/index.astro を開きます。
拡張子がastroとなっています。
Astro 独自記述のファイルです。
しかし、かなりReact.jsがわかる方ならすぐ扱えると思います。
簡単に変数を用意して変数展開だけしてみます。
---
import Layout from '../layouts/Layout.astro';
import Card from '../components/Card.astro';

let title = 'Fuga';
---4行目あたりで、let title = 'Fuga'; と、文字列を入れた変数を用意します。
h1タグの部分で<span class="text-gradient">Astro</span> の記述がある『Astro』の部分を『{title}』に書き換えて先ほどの変数を展開します。
<h1>Welcome to <span class="text-gradient">{title}</span></h1>変数展開方法はReact.jsでのJSXでの方法と同じです。
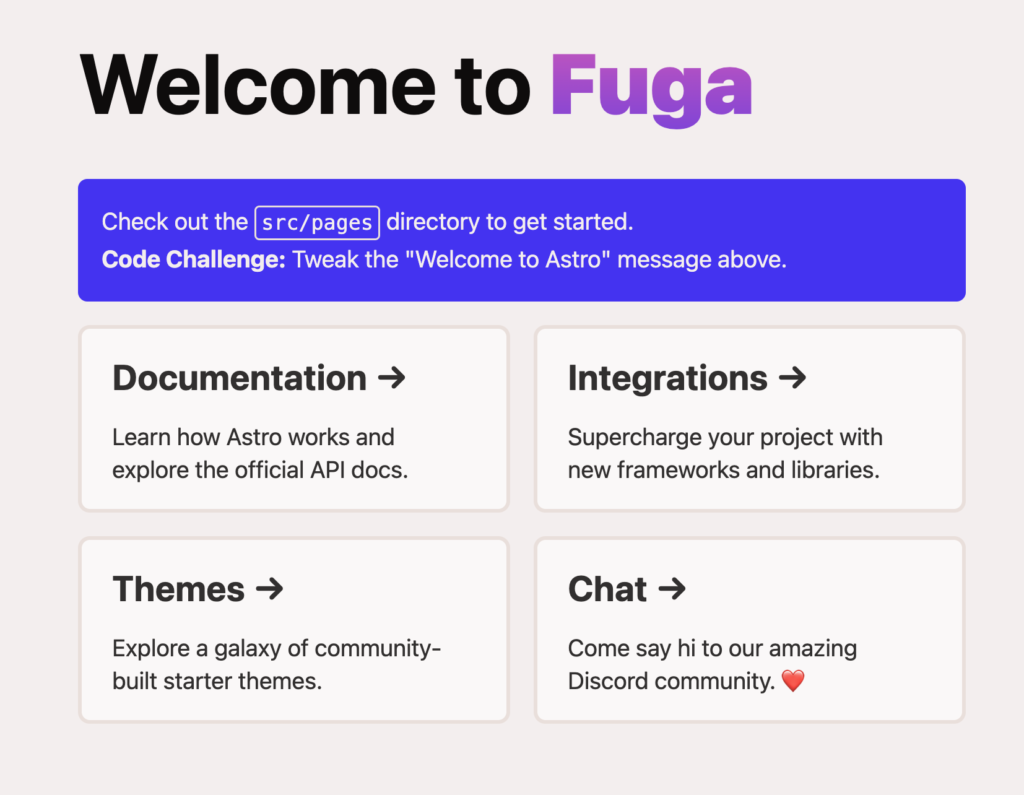
保存すると、テキストが書きかわったかと思います。
静的ビルドをする
先ほどのyarn dev を実行中の場合、ctrl + c で停止してから、
$ yarn build上記コマンドを実行すると、dist/ ディレクトリが生成されます。これが先ほどの静的ファイルになります。
React.jsが使えるように設定する
$ yarn astro add react✔ Resolving packages...
Astro will make the following changes to your config file:
╭ astro.config.mjs ─────────────────────────────╮
│ import { defineConfig } from 'astro/config'; │
│ │
│ import react from "@astrojs/react"; │
│ │
│ // https://astro.build/config │
│ export default defineConfig({ │
│ integrations: [react()] │
│ }); │
╰───────────────────────────────────────────────╯
? Continue? › (Y/n)Y を指定します。
  Astro will run the following command:
  If you skip this step, you can always run it yourself later

 ╭────────────────────────────────────────────────────────────────╮
 │ yarn add --dev @astrojs/react react-dom@^18.0.0 react@^18.0.0  │
 ╰────────────────────────────────────────────────────────────────╯

? Continue? › (Y/n)
Y を指定します。
React の型もインストールしておく
yarn add -D @types/reactTitleコンポーネントを作る
src/components/Title.tsx ファイルを作成し下記のようにシンプルなコンポーネントを作ります。
type TitleProps = {
  children: React.ReactNode;
};

const Title: React.FC<TitleProps> = ({ children }) => {
  return <h2>{children}</h2>;
};
export default Title;
Titleコンポーネントの呼び出し
src/pages/index.astro ファイルで、Titleコンポーネントを読み込み先ほどの h1 のしたあたりで使ってみます。
---
import Layout from '../layouts/Layout.astro';
import Card from '../components/Card.astro';
import Title from "../components/Title";

let title = 'Fuga';
---

<Layout title="Welcome to Astro.">
	<main>
		<h1>Welcome to <span class="text-gradient">{title}</span></h1>
		<Title>タイトル</Title>
		<p class="instructions">
(以下省略)これで再度、yarn dev で確認します。

このように、Next.jsのようにPagesの中で独自の.astro ファイルで独自の記法で記述しindexページを作成しReactコンポーネントをどんどん読み込んでいく形のようでした。

